Configuring Single Sign-On (SSO)
Last updated: June 1, 2026
Canvas supports Single Sign-On (SSO), enabling users to log in using external identity providers such as Google Workspace, Okta, and Microsoft Azure. Canvas's integration with SSO streamlines login processes, providing secure and seamless access for users across supported platforms. This article outlines the configuration process, frequently asked questions, and detailed step-by-step instructions for each provider.
Setup & Configuration
Okta SSO Configuration
Okta SSO Configuration Process
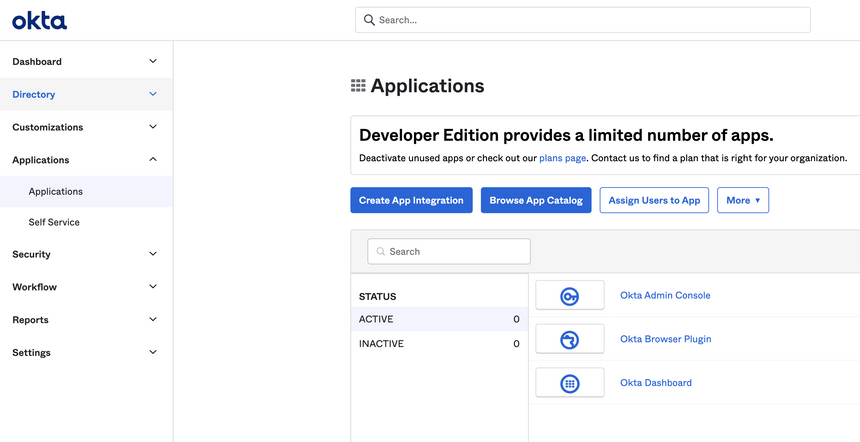
Create an Okta App
Open the Okta dashboard and go to Applications.
Select Create App Integration and choose SAML 2.0.
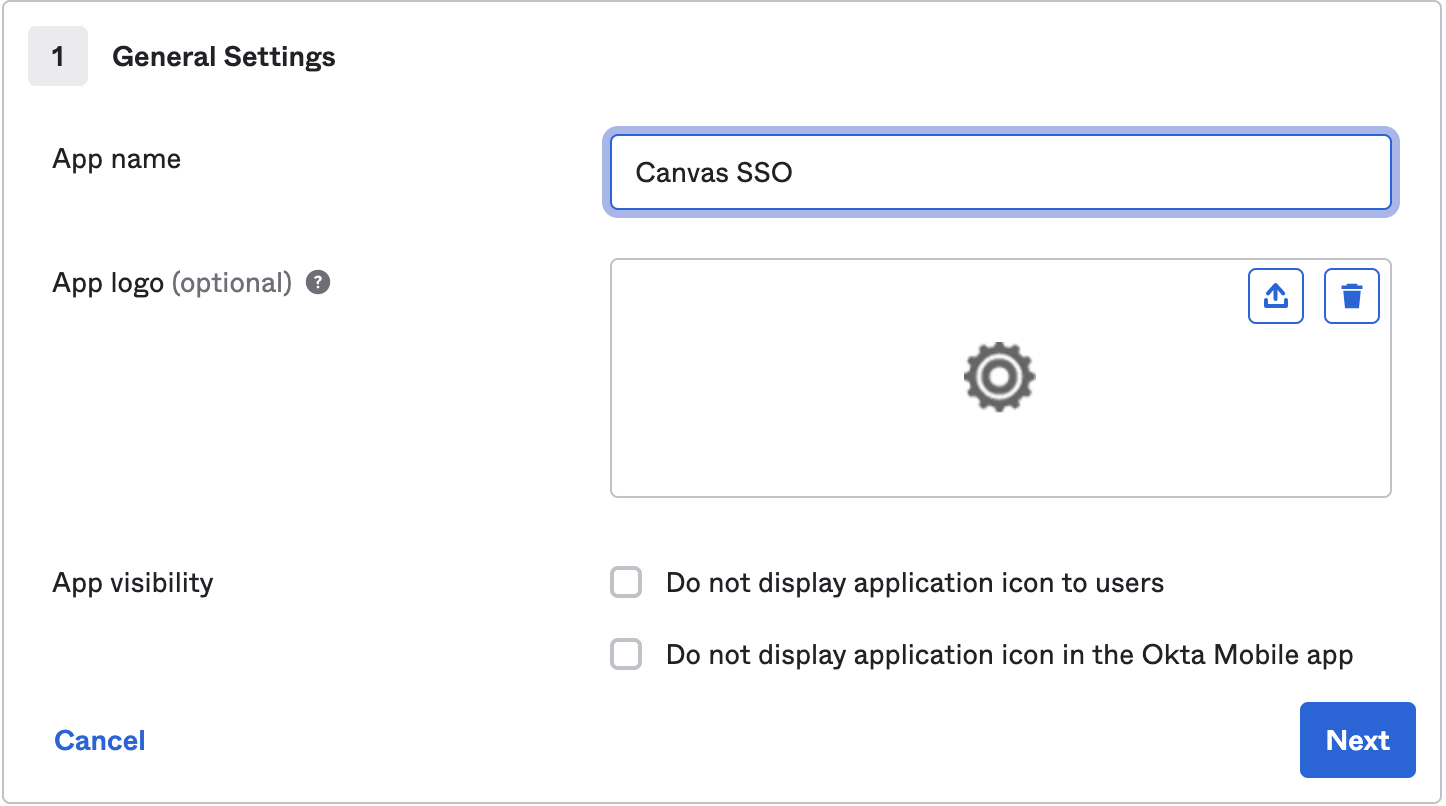
Enter a name to identify the application in the App name field (e.g. Canvas SSO)
Change the app logo, if needed (optional)
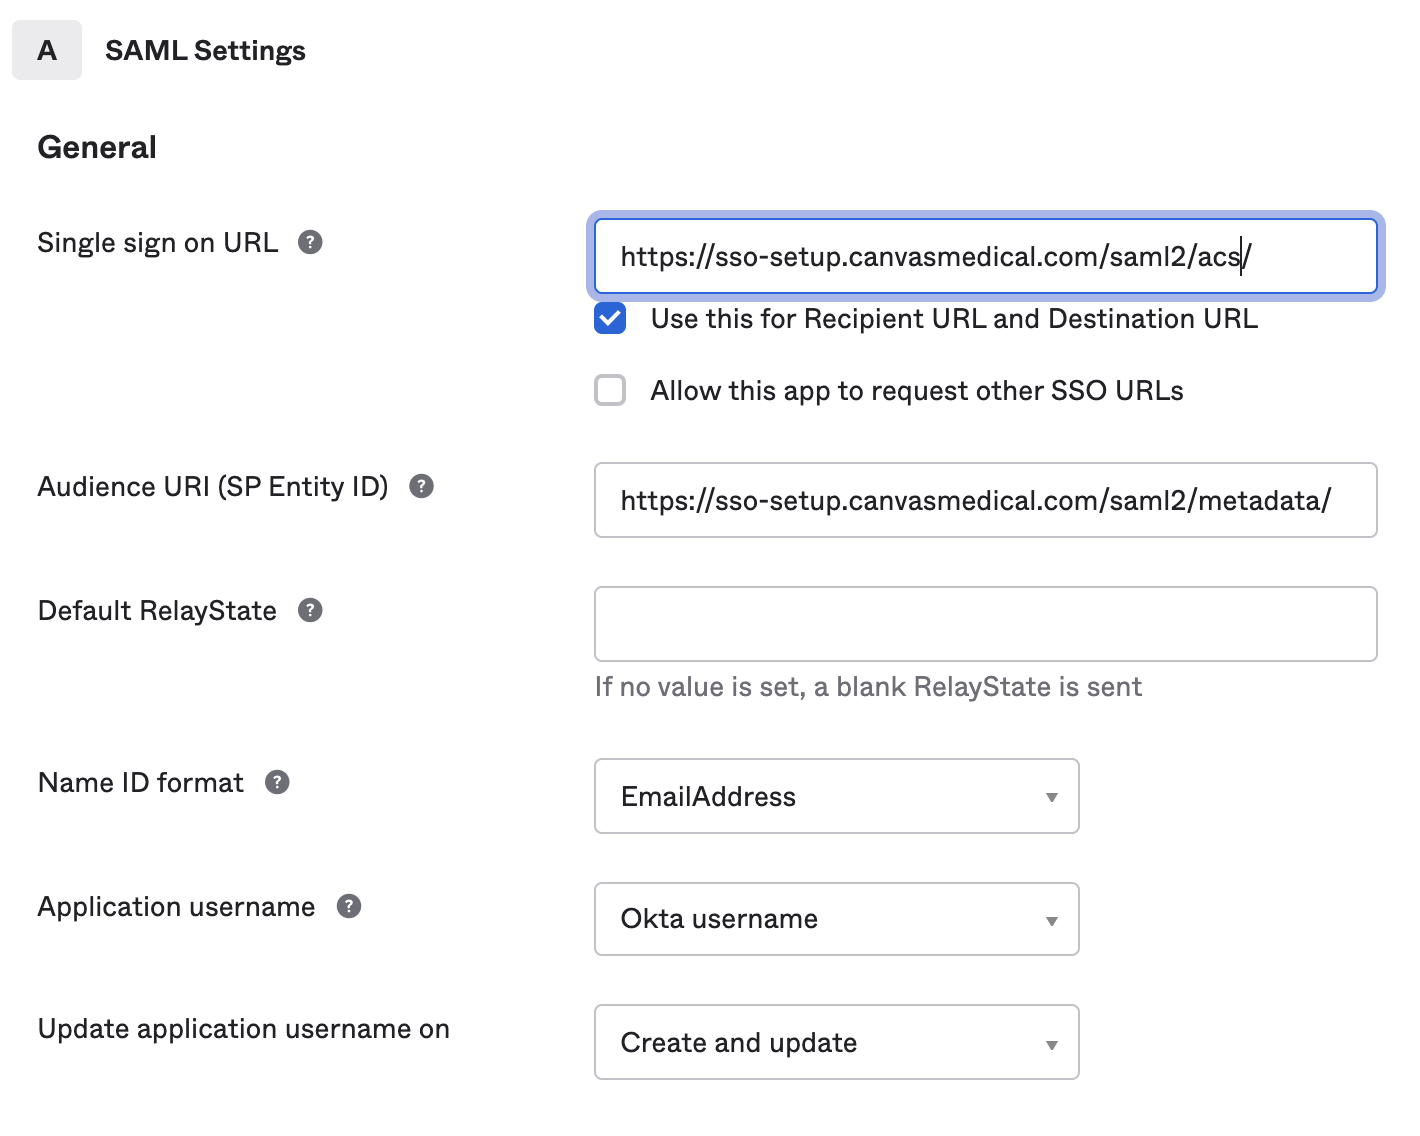
Complete SAML Settings fields
Single Sign-On URL: https://<organization>.canvasmedical.com/saml2/acs/
Audience URI (SP Entity ID): https://<organization>.canvasmedical.com/saml2/metadata/
Name ID Format: EmailAddress
Application username: Okta username
Update application username on: Create and update
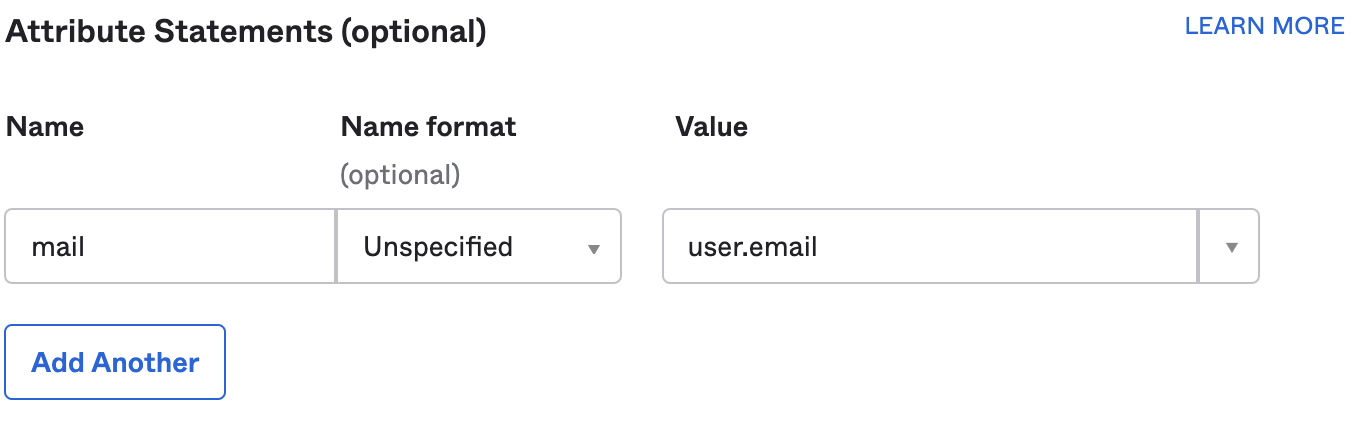
Add an attribute statement
Name: mail
Name Format: Unspecified
Value: user.email
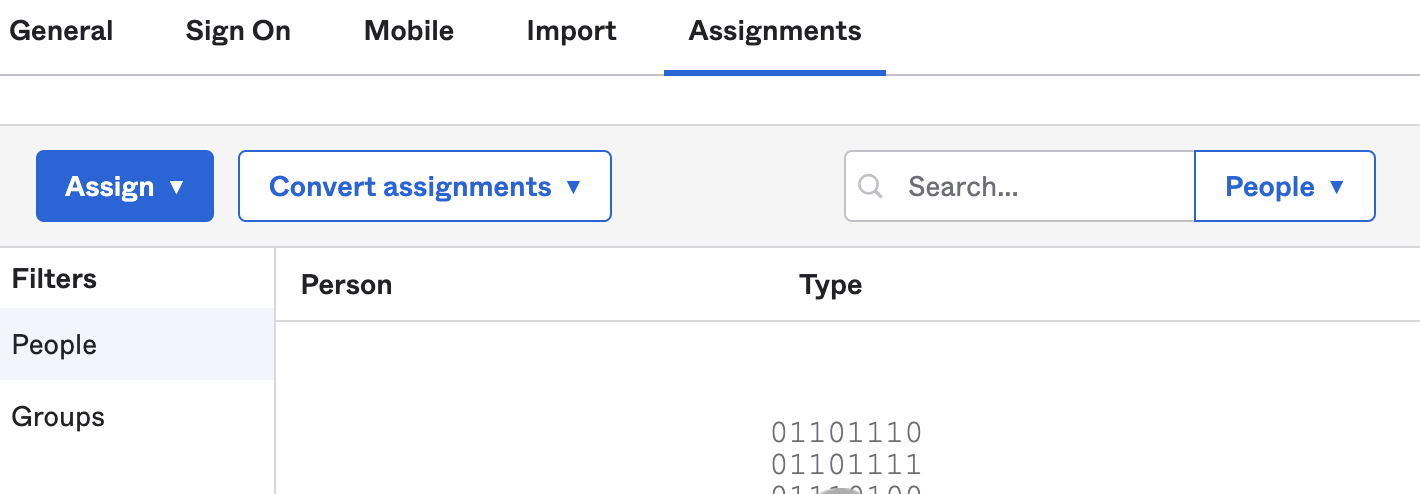
Create Okta SSO Users
Navigate to the Assignments tab
Assign any people/groups you want to use this app
Create Okta Link for Canvas
From the Sign On tab, click the Identity Provider Metadata link located below the View Setup Instructions button
In Canvas, configure the
SERVICE_PROVIDER_CONFIGfield with the copied URL.Copy the URL from the page - it will be needed later in the Canvas set up.
Follow steps under SSO Configuration in Canvas to complete Canvas configuration

Canvas Configuration for Okta SSO
Login to the Canvas instance
Navigate to Settings under the triple line menu and select Constance: Config
Locate the SSO Configuration section and complete the fields
SERVICE_PROVIDER_CONFIG: Enter a dictionary like the example below. Replace <your url> with the URL you copied from Okta.
{ "service": { "sp": { "allow_unsolicited": true } }, "metadata": {"remote": [{"url": "<your url>"}]} }SSO_PRIVATE_KEY: Leave blank. Not needed for Okta SSO
SSO_PUBLIC_CERT: Leave blank. Not needed for Okta SSO
IDP_METADATA_XML: Leave blank. Not needed for Okta SSO
SSO_LOGIN_ENABLED: Ensure the SSO_LOGIN_ENABLED box is checked in order to display the new login button on the log in screen
SSO_IDP_INFO: Enter the following dictionary to configure the SSO login button. You can customize it as needed, including removing the icon or replacing it with a logo.
{
  "name": "Okta",
  "icon": { "name": "circle outline", "style": {"color": "blue" }}
}
Click Save once fields are complete
Log In to Canvas Using Okta SSO
Navigate to the Canvas log in page. You will need to logout of Canvas if you are currently signed in
Click the Log in with Okta button
Ensure you are redirected to Canvas after logging in

Microsoft Azure SSO Configuration
Microsoft Azure SSO Configuration Process
Microsoft Azure SSO Configuration
Create MS Azure Active Directory App
Open Azure dashboard
Select Azure Active Directory located in the left menu
Select Add
Select Enterprise Application from the dropdown

Select Create your own application in the next screen to open the form
Enter a name for your application
Select Integration any other application you don't find in the gallery
Select Create to be redirected to your application overview page

Select Single sign-on from the menu on the left hand side
Select SAML to open the Set up Single Sign-on with SAML modal

Locate the Basic SAML Configuration section
Select Edit

Enter your Canvas URL followed by /saml2/metadata/ in the Entity ID field
If https://organization.canvasmedical.com is the Canvas URL, the "Entity ID" field should be https://organization.canvasmedical.com/saml2/metadata/
Enter your Canvas URL followed by /saml2/acs/ in the Reply URL field
If https://organization.canvasmedical.com is the Canvas URL, the "Reply URL" should be https://organization.canvasmedical.com/saml2/acs/
Enter your Canvas URL followed by /saml2/login/ in the "Sign on URL" field
If https://organization.canvasmedical.com is the Canvas URL, the "Sign on URL" field should be https://organization.canvasmedical.com/saml2/login/
Select Save to save changes made to the “Basic SAML Configuration” section

Locate the Attributes & Claims section
Select Edit
Select Add new claim and complete the fields
Name: mail
Source: Attribute
Source attribute: user.mail
Select Save to save changes made to the Attributes & Claims section
Click the X button to exit the screen

Create MS Azure Users
Begin process after having completed the steps described above
Locate the left menu
Select Users and groups
Select Add user/group

Click on Users or role sections to add users
Select Assign
Locate the left menu
Navigate to the Single sign-on view
Click the Copy button next to the App Federation Metadata URL to copy the URL
Canvas Configuration for Microsoft Azure SAML App
Login to the Canvas instance
Navigate to Settings under the triple line menu and select Constance: Config
Locate the SSO Configuration section and complete the fields
SERVICE_PROVIDER_CONFIG: Enter a dictionary like the example below. Replace
<your url>with the URL you copied from MS Azure{ "service": { "sp": { "allow_unsolicited": true, "want_response_signed": false } }, "metadata": {"remote": [{"url": "<your url>"}]} }SSO_PRIVATE_KEY: Leave blank. Not needed for Azure SSO
SSO_PUBLIC_CERT: Leave blank. Not needed for Azure SSO
IDP_METADATA_XML: Leave blank. Not needed for Azure SSO
SSO_LOGIN_ENABLED: Ensure the SSO_LOGIN_ENABLED box is checked in order to display the new login button on the log in screen
SSO_IDP_INFO: Enter the following dictionary to configure the SSO login button. You can customize it as needed, including removing the icon or replacing it with a logo.
{
  "name": "MS Azure",
  "icon": { "name": "microsoft", "style": {"color": "blue" }}
}
Select Save once fields are complete
Log In to Canvas using MS Azure SSO
Navigate to the Canvas log in page. You will need to logout of Canvas if you are currently signed in
Click the Log in with Okta button
Ensure you are redirected to Canvas after logging in

Google Workspace SSO Configuration
Google Workspace SSO Configuration Process
Create App for Google
Log in to your Google Admin account
Navigate to Web and mobile apps under the Apps menu
Click Add app menu
Select Add custom SAML app from the dropdown

Add the App Name and click Continue

Click Download Metadata under Option 1: Download IdP metadata. This will be used later when configuring in Canvas.

Complete the Service provider details on the next page
Entity ID: https://your-canvas-url.com/saml2/metadata/
Signed response: Check box
Start URL: Leave blank
Name ID format: UNSPECIFIED
Name ID: Basic Information → Primary email
Click Continue

Under Attributes, click Add mapping and complete the fields
Basic information: Primary email
App attributes: mail

Create Google SSO Users
Navigate to User Access

Set service status to ON for everyone or enable for a specific group

Canvas Configuration for Google Workspace SAML App
Login to the Canvas instance
Navigate to Settings under the triple line menu and select Constance: Config
Locate the SSO Configuration section and complete the fields
SERVICE_PROVIDER_CONFIG: Use the dictionary below into the field
{ "service": { "sp": { "want_assertions_signed": false, "allow_unsolicited": true } } }SSO_PRIVATE_KEY: Leave blank. Not needed for Google Workspace SSO
SSO_PUBLIC_CERT: Leave blank. Not needed for Google Workspace SSO
IDP_METADATA_XML: You’ll need to base64 encode the previously downloaded metadata file. There are two ways to accomplish this:
If you prefer to work with terminal, you can run the following command and copy the output:
base64 GoogleIDPMetadata.xmlYou can also upload your metadata file here: https://base64.guru/converter/encode/file, click Encode file to Base64 and copy the output from section Base64. Once you have your metadata encoded and copied you can paste it in
IDP_METADATA_XMLfield
SSO_LOGIN_ENABLED: Check this box to activate the SSO login button.
SSO_IDP_INFO: Enter the following dictionary to configure the SSO login button. You can customize it as needed, including removing the icon or replacing it with a logo.
{
  "name": "Google",
  "icon": { "name": "google", "style": {"color": "red" }}
}
Click Save once fields are complete
Log In to Canvas using Google Workspace SSO
Navigate to the Canvas log in page. You will need to logout of Canvas if you are currently signed in
Click the Log in with Google button
Ensure you are redirected to Canvas after logging in

JumpCloud SSO Configuration
JumpCloud SSO Configuration Process
Create JumpCloud App
Log in to the JumpCloud admin account
Navigate to SSO under the User Authentication menu
Click on the blue add button and select Custom SAML App option

Add a display label to identify the application
Click the SSO tab and complete the fields
IdP Entity ID: Enter your Canvas instance URL followed by
/saml2/metadata/.For example, if your instance URL is https://sso-setup.canvasmedical.com the Idp Entity ID should be https://sso-setup.canvasmedical.com/saml2/metadata/
SP Entity ID: Same URL as the IdP Entity ID
ACS URL: Should match the IdP and SD entity IDs but include the suffix
acsat the end.suffixFor example, https://sso-setup.canvasmedical.com/saml2/acs/
SAMLSubject NameID: email
SAMLSubject NameID Format: urn:oasis:names:tc:SAML:2.0:nameid-format:unspecified
Sign Assertion: Check the box
Under User Attribute Mapping, click on Add attribute and complete the fields
Service Provider Attribute Name: mail
JumpCloud Attribute Name: email
Add JumpCloud SSO Users
Open the User Groups tab
Select any group of users you to include on the app
Click activate on the bottom right corner.
A new app will display on the app list

Open the new app
Navigate to the
SSOtabClick the
Export Metadatabutton. This will be used during the configuration in Canvas
Canvas Configuration for JumpCloud SAML App
Login to the Canvas instance
Navigate to Settings under the triple line menu and select Constance: Config
Locate the SSO Configuration section and complete the fields
SERVICE_PROVIDER_CONFIG: Use the dictionary below into the field
{ "service": { "sp": { "allow_unsolicited": true, "want_response_signed": false } } }SSO_PRIVATE_KEY: Leave blank. Not needed for JumpCloud SSO
SSO_PUBLIC_CERT: Leave blank. Not needed for JumpCloud SSO
DP_METADATA_XML: You’ll need to base64 encode the previously downloaded metadata file. There are two ways to accomplish this:
If you prefer to work with terminal, you can run the following command and copy the output:
base64 GoogleIDPMetadata.xmlYou can also upload your metadata file here: https://base64.guru/converter/encode/file, click Encode file to Base64 and copy the output from section Base64. Once you have your metadata encoded and copied you can paste it in
IDP_METADATA_XMLfield
SSO_LOGIN_ENABLED: Check this box to activate the SSO login button.
SSO_IDP_INFO: Enter the following dictionary to configure the SSO login button. You can customize it as needed, including removing the icon or replacing it with a logo
{
  "name": "JumpCloud",
  "icon": { "name": "cloud", "style": {"color": "black" }}
}
Click Save once fields are complete
Log In to Canvas using Google Workspace SSO
Navigate to the Canvas log in page. You will need to logout of Canvas if you are currently signed in
Click the Log in with JumpCloud button
Ensure you are redirected to Canvas after logging in
FAQs
Q: How does the SSO login connect to “staff” profiles?
A: The email address attached to the Canvas user must match the SSO email address.
Q: Will a user be automatically created when I configure SSO?
A: No. Users must be manually connected to Canvas, and the email used to create the user must be unique.
Q: Why is the user getting a No user could be authenticated error when trying to login to Canvas with SSO?
A: The user has multiple staff profiles in Canvas with the same email. Check the active and inactive staff profiles in Canvas. The emails cannot match whether inactive or inactive.
Keywords & Metadata
Keywords Single Sign-On (SSO), Canvas SSO, Okta SSO, Microsoft Azure SSO, Google Workspace SSO, Identity Provider, SSO setup guide, SAML authentication, Canvas login, external login service, secure authentication, enterprise login
Categories Authentication and Security, User Management, Software Integration, IT Administration, Canvas Platform Setup, Identity Provider Configurations, Enterprise Technology Solutions